Installing and shaping scales
on a small neck knife
Nick Wheeler
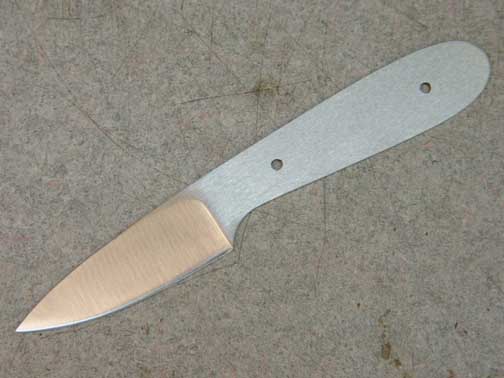
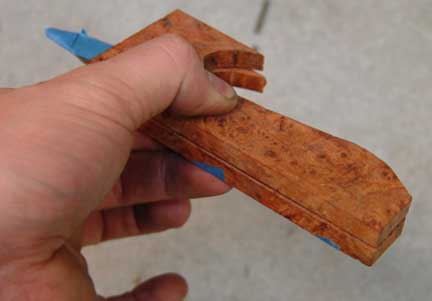
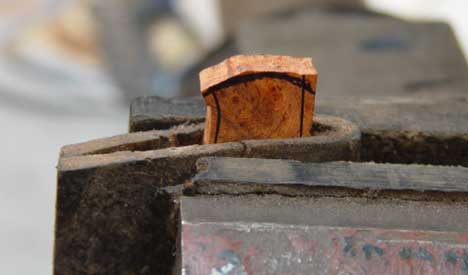
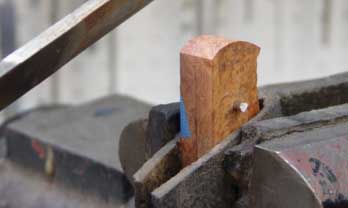
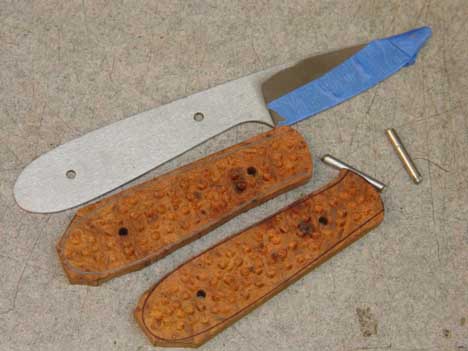
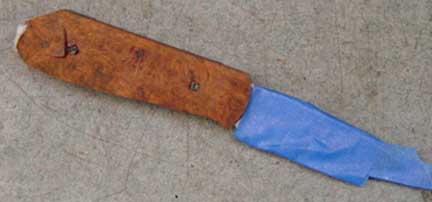
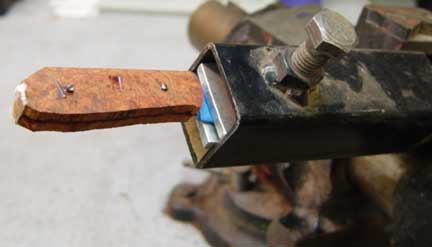
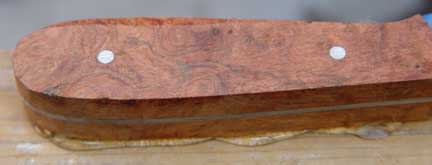
A neck blank ready for a handle
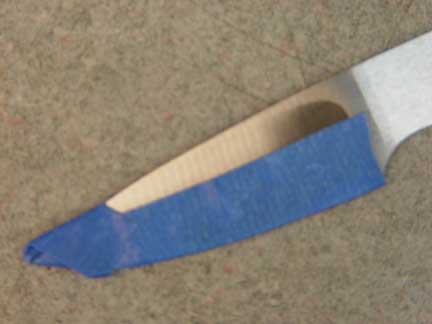
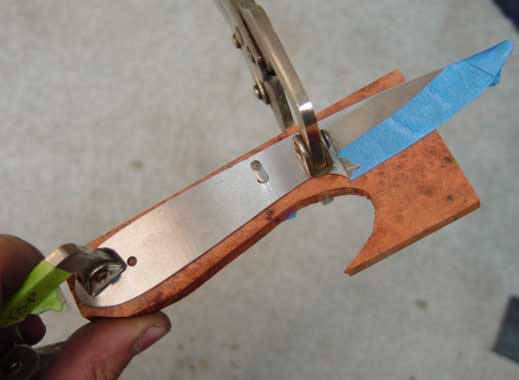
Blade with masking tape put over the edge (if someone doesn't do this, they are an IDIOT!)
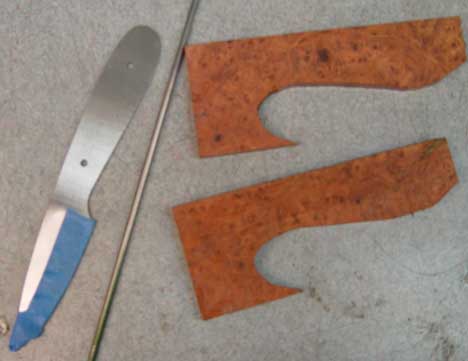
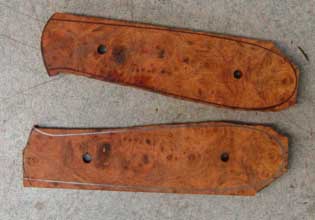
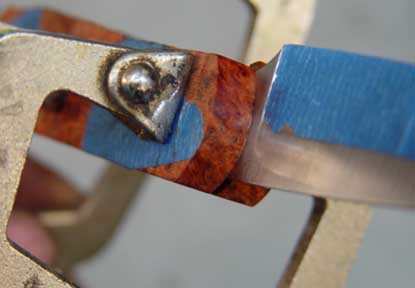
Blade with pinstock and scales
The scales must be sanded flat. A cheap and easy way to do this is a piece of glass and 220X paper
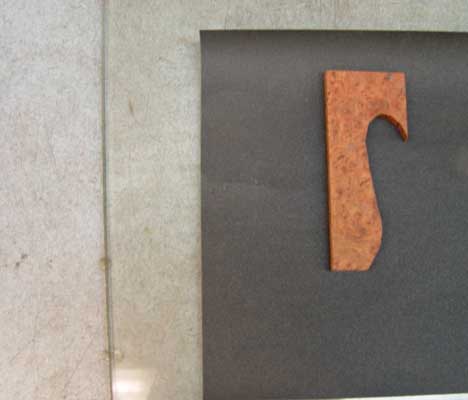
Put pencil lead on the scale to judge if you're actually taking everything down evenly
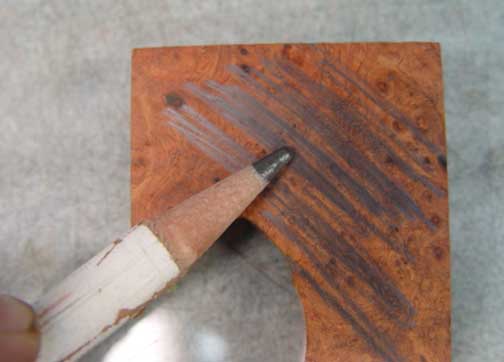
Sanding the scales flat on the glass plate (pull it towards yourself with even pressure) don't push it away

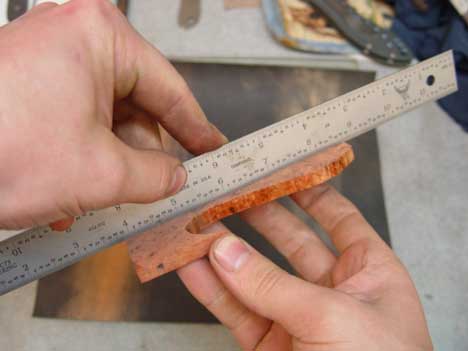
Check the flatness against something like a steel rule
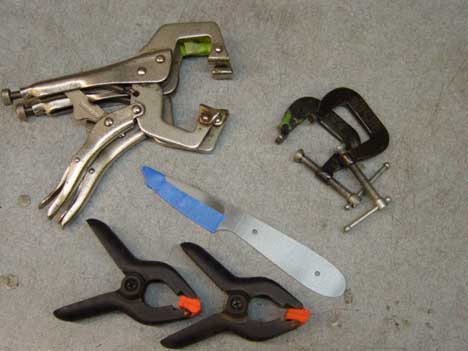
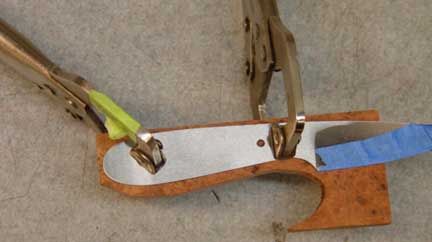
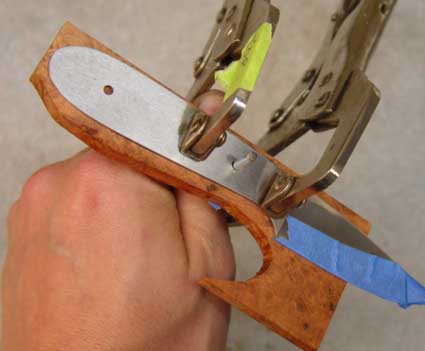
Blade shown with some various clamps that will work for the hole drilling process
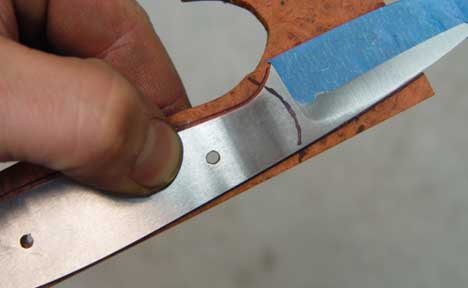
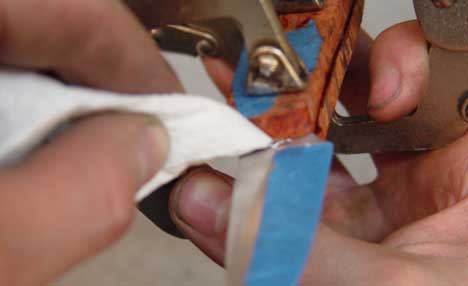
The tape is extending up onto the flats of the blade, this is being cut off flush
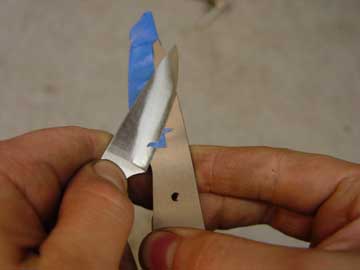
What it should look like with the tape cut off flush so as not to interfere with scales

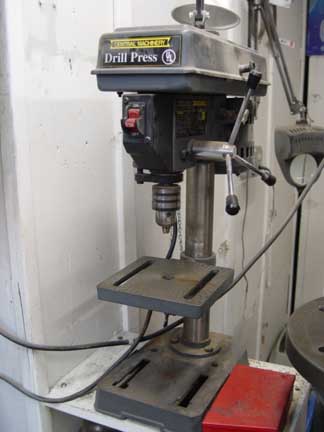
This little $40 Harbor Freight drill press will work just dandy
Put tape over the scales where the drill bit will penetrate to prevent bad tear-out
Scale clamped to blade
Drilling the scale with a 1/8" bit
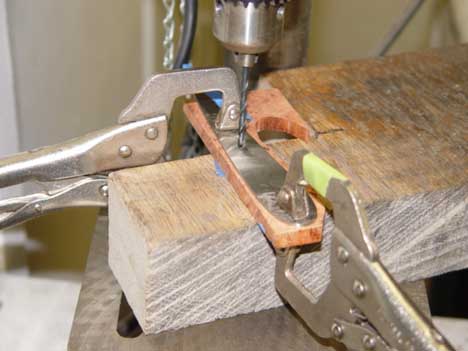
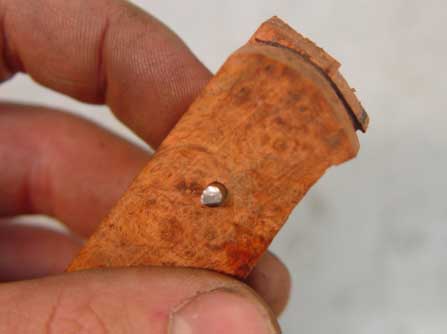
One hole is drilled, and then a pin is placed through that hole before moving on
Move the clamp to drill the second hole
Put the pins into the scales before taking the clamps off
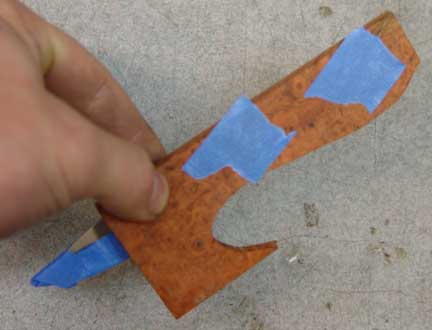
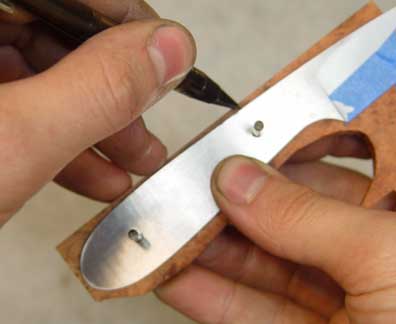
Trace the profile of the tang onto the scale
Match up the second scale with where the first one is, so that the grain will match up when complete, clamp and drill
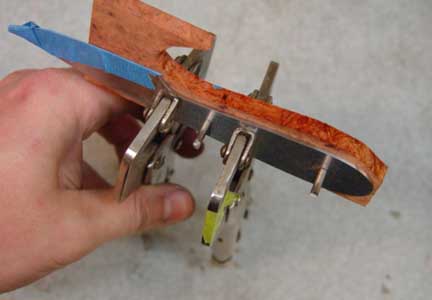
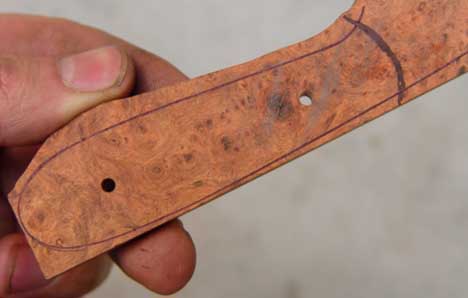
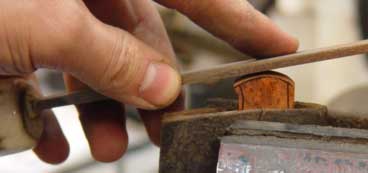
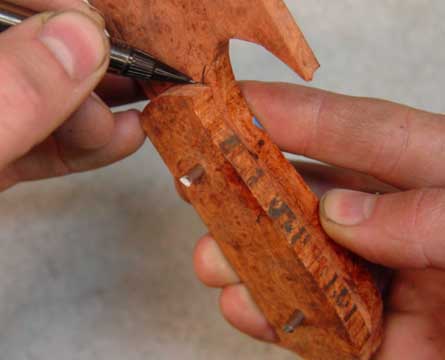
Drawing a line for the top of the scale (extend line onto scales as well)
Tang outline drawn onto scale, including the top arch
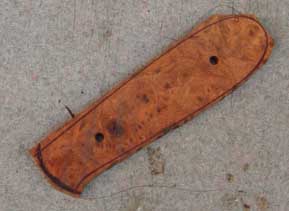
Scale rough cut to outline
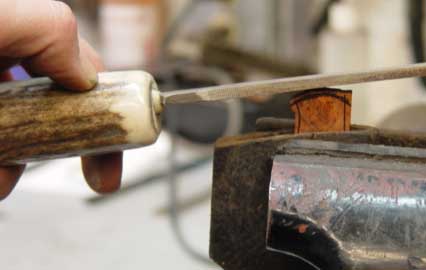
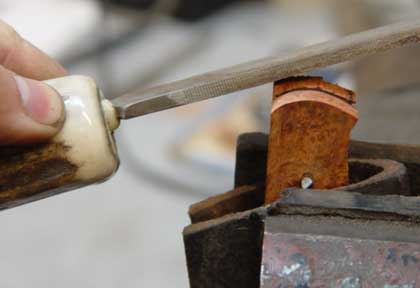
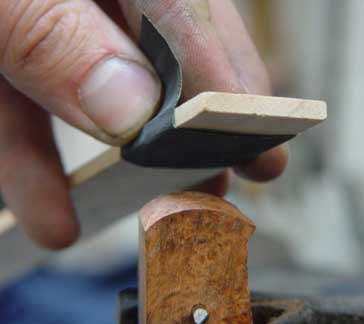
Scale placed in vise, ready to file the top down to line
Filing the top (front) of scale
Top of scale filed to line
Put the scale on the blank and make sure it looks the way you want it to look
Scribing the first scale's top profile onto the second scale
Scales rough cut
Pin the scales together
Filing the second scale to match the first
Scales filed down to the same profile
Sanding the top of scales. Showing this can be done with a paint stir stick and abrasives. This should be taken up to whatever grit you want. I took them to 1200 and buffed
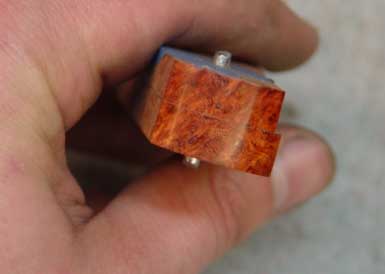
The front of the scales after buffing
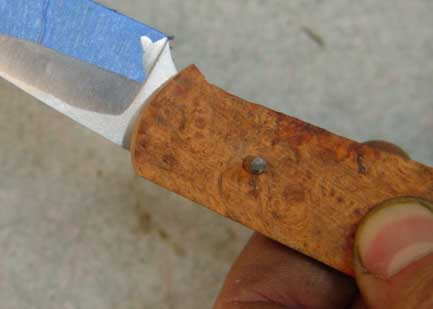
Drill dimples on the inside of the scales. Drill these holes INSIDE the outlines, and drill them SHALLOW! These increase surface area for epoxy
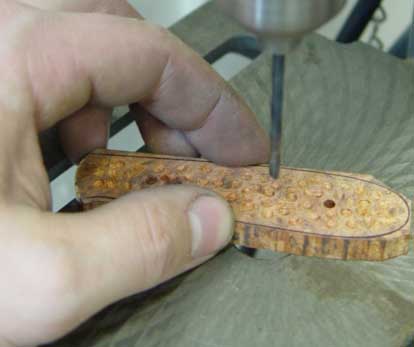
Scale shown with dimples drilled into it

Blade, scales, and pins, ready to roll
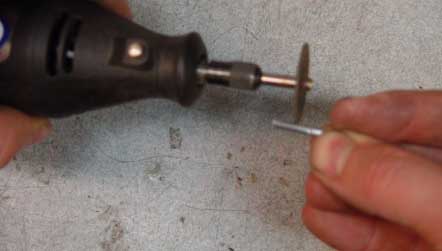
Cutting grooves in pins with dremel and cut-off. You can also use a file. ONLY cut the grooves in the center of the pin!!!
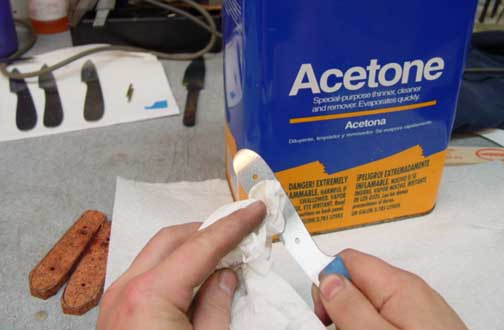
Clean the blade, pins, and scales with acetone
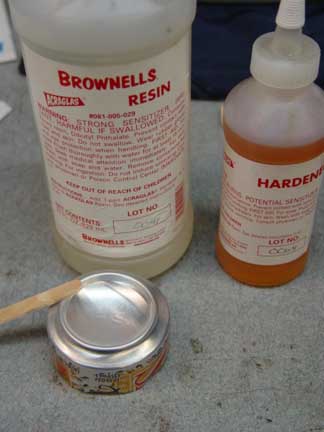
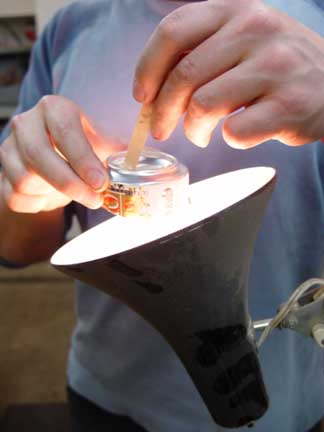
Epoxy, the bottom of a pop can, and a mixing stick. I use Brownells acraglas... but obviously no one is going to go buy $70 worth of epoxy. Any slow set will work okay. The pop-can is an ideal mixing cup, but make sure to clean it out with a paper towel and acetone first!!! (Cleaning is a must!)
After putting the epoxy in the "cup" and mixing for about 2 minutes, mix it for another 2 over a lamp to improve mixing and curing. Yes, FOUR minutes!!! Many people give a few stirs... the ONLY time epoxy is mixed is right before it's applied, so you have to stir it VERY THOROUGHLY!!!
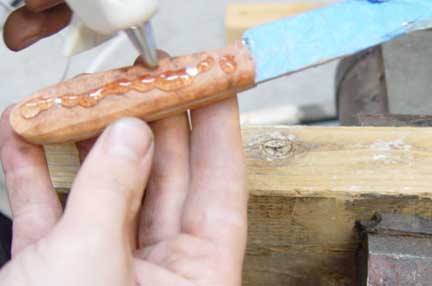
Put epoxy on the ends of the pins and then insert them into the holes in one scale, then coat the inside of that scale with epoxy. Put it on the tang, and push the pins through the holes about 1/8." Then put epoxy on the second scale, and match it up with the two pins.
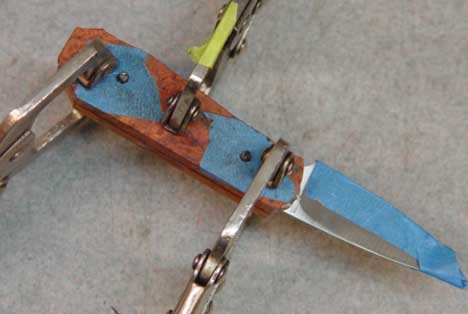
All clamped up. You want them pretty tight. The "dimples" will make sure you don't squeeze it all out... but don't get to crazy with clamping pressure.
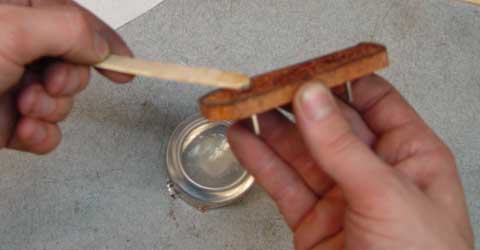
The popsicle stick from epoxy mixing cut to a fine tip

The angled tip stick with paper towel wrapped around it
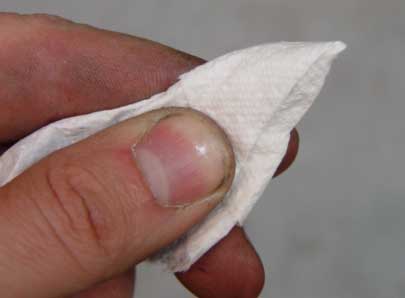
Cleaning the epoxy from the front of scales and blade with angled stick and paper towel
Front of scale all cleaned up and ready to be set aside for epoxy to cure.
Wow... 46 pics just to this point! Some of the pics may seem insignificant... but every step is sequential... and then there's that whole "picture's worth a thousand words" thing.
Finishing the handle
Keep in mind I used fairly thick scales so I could get a contoured elegant feel to the knife. You could more easily make a very nice looking and very serviceable handle with 1/8" material on a blade this size.
First you should tape up the blade in some way to protect it and yourself
Here is the rig I made to work on handles. It works AWESOME, because I can rotate the base of the vise, the head of the vise, and the fixture itself... all 360degrees. But you probably don't have this, so we'll have to come up with something different and cheap/easy.
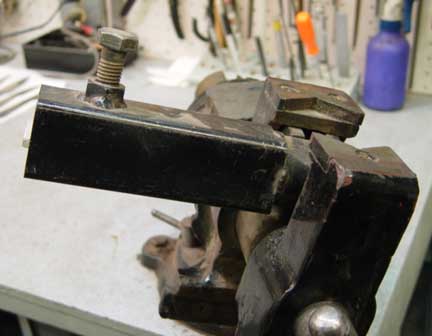
Basically I just wanted to give you an idea of what is ideal for accessing the handle for work.
Okay, let's get started.
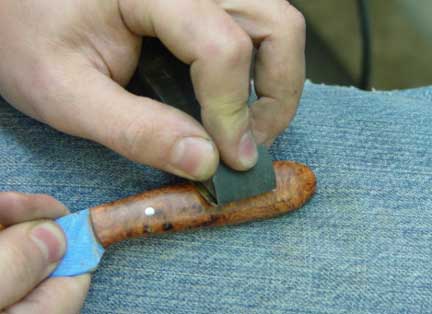
First I put the handle in the vise (I replaced the steel jaws with micarta) you'll need to use some sort of padding. If you file at an angle like I'm doing, you're less likely to chip out the handle material.

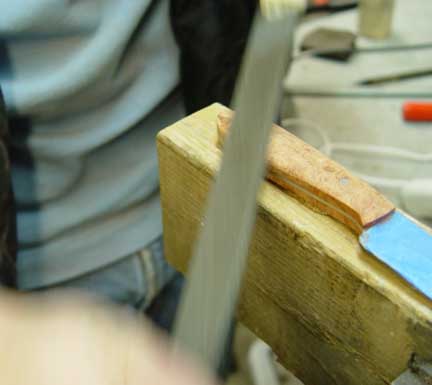
Here the scales have been filed down to the tang
Flip it over and file the other side down to the tang. I'm using a half-round to get up into the choil area as well.
Okay, I tried several jerry-rigged things, and this is actually a really good way to work on these little guys. Even better than my normal fixture, as the thin blades flex while filing on them. They are pretty tough little blades, but I don't know how much lateral stress they'd take before breaking... so anyway, this works REALLY well.
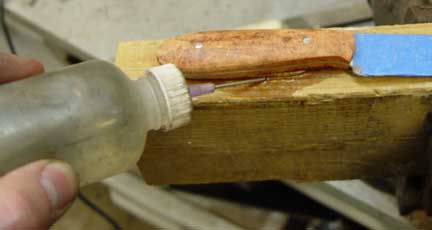
I simply put a 2X4 in the vise, and then hot glued the knife to it by the handle.
Here's a close-up of it glued down. Be liberal with the
glue.
Filing
away at the slabs.
Here's
how you get it off. Simply put acetone or alcohol on the glue. It
will pop right off the board now, and you can easily remove the
glue.
Here
I'm showing that everything but the choil area has been filed. It's
nearly impossible to get into that area with the board and glue
set-up.
So
I came up with a way to hold the blade that's similar to my fixture,
but cheap/fast/easy.
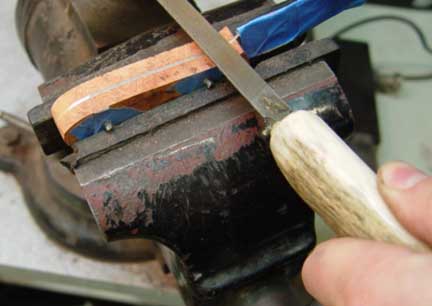
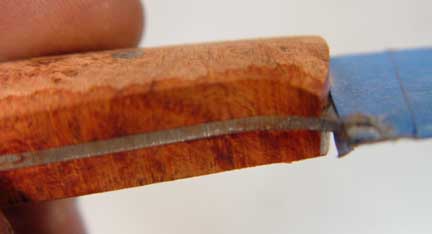
A board with a slot cut into it. Put
the blade into the slot, and clamp down on it.
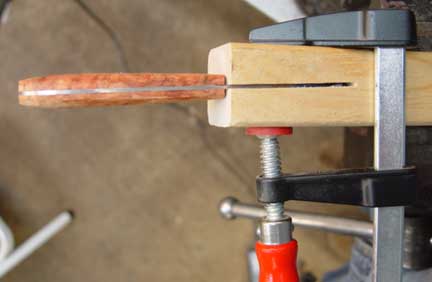
Another
view of it.

Here I'm doing some rounding to the handle. Light, easy strokes at
an angle will keep you from damaging anything. This rig doesn't hold
the blade super rigid, so easy does it.
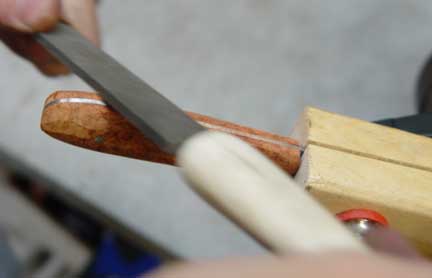
Filing
the radius up at the choil area so it rolls right into the
hand.

Now
back to the board/glue. I'm using a paint stir stick with 220x paper
to fine tune the shaping of the scales.
A
closer view.
Now
you can make the handle even more flowing and smooth if you can
stroke sand it. Ideally, you'd use "shop roll cloth" to do so, but
unless you already have some, I don't recommend you go drop
$25-50/roll on 3-4 different grits. You can "make" some that will
work just fine for a small project like this.
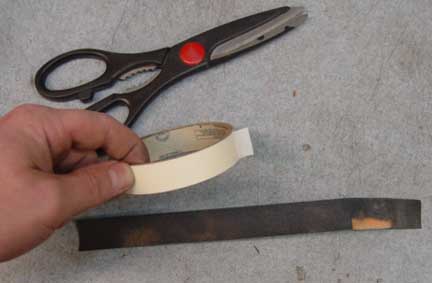
You need some
of that abrasive paper, cheap scissors to cut it into strips, and
masking tape.
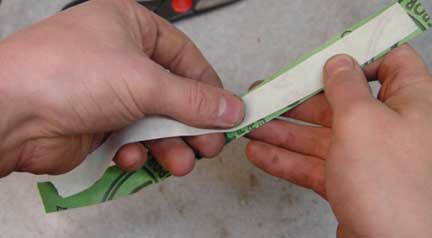
Then
just put the tape on as a backing to the strips of abrasive
paper.
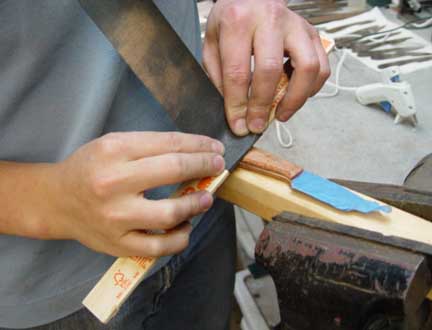
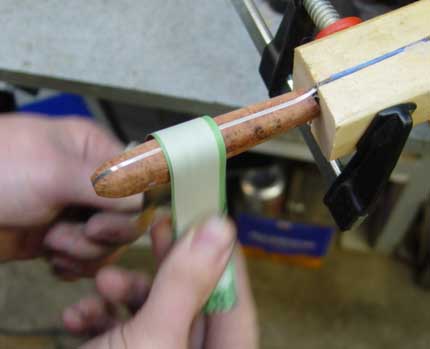
Put the blade back in the second rig, and start the stroke sanding.
This is done with a "shoe-shining" motion.
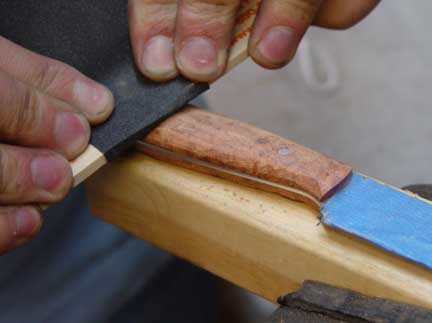
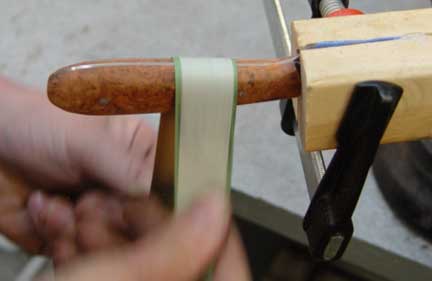
Another
view of the same thing. Try to get most of your shaping done with
files and backed abrasive paper. If you do too much of the stroke
sanding, the wood will wear away at a much faster rate than the
steel tang.
Here
I'm doing the final finish sanding of the handle with a "rubber
finger" made from a heavy industrial rubber. I haven't come up with
a way for you to mimic this. If you had an old shoe, you could cut a
strip of the rubber sole to get a similar tool, or stack a couple
pieces of leather together as well. I'm open to suggestions for a
substitute.
I just hold the knife by the blade and lay the
handle on my leg. I start with 320X, then 600X, and then 1200X paper
wrapped around this little gizmo.
At
1200X, you'll have a nice finish, but I took mine to the buffer at
that point and did a REALLY LIGHT buff with white rouge. I doubt
most of you have a buffer, but you can actually get a buff for a
drill press. Or you could use a myriad of wood finishing products to
buff the handle.
I should note. If you're going to use
natural, NON-stabilized wood, you actually should NOT sand to such a
fine grit. The wood will not accept stain/finish readily if you sand
it so fine. You can get a nice finish if you stop at
320x.
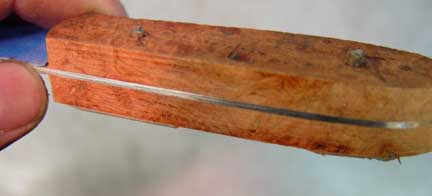
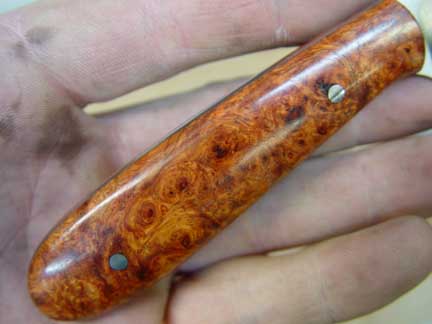
Here's a close-up shot of the Amboyna burl handle after
I buffed it.
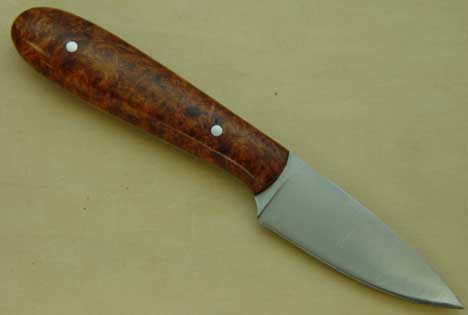
Here
is the knife all finished up and ready to go to work!
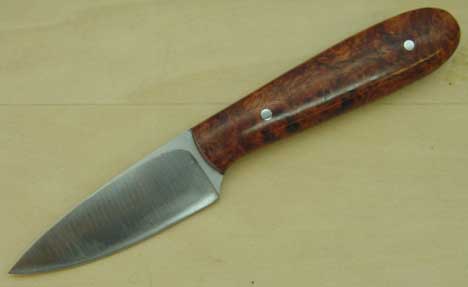
Other
side
Hope
you guys have fun with this!!!
-Nick-
©2005 Nick Wheeler